6 Ways to Transform Your Christmas Tree with Ribbon ( that’s easy)
We are quickly approaching the holiday season, and in this post, I will show you how easy it is to transform your tree with ribbon!
Christmas tree ribbon is a great way to transform your Christmas tree at an affordable cost. Plus, you can make your tree look completely different each year by just changing the ribbon color or design style.
I don’t want you to dread the thought of how to decorate their tree with ribbon because it’s really simple trust me.
There are so many different ways you can do this, but I’m going to show you my top 5 favorites in this step-by-step tutorial.
Related:4 SIMPLE & CHEAP DIY TRICKS FOR DIY CHRISTMAS DECOR IDEAS
Step by Step Tutorial to use ribbon on your Christmas tree and transform it in minutes!

Before we get started, this is what you will need:
- A tree ( I have an artificial Christmas tree, but either is fine)
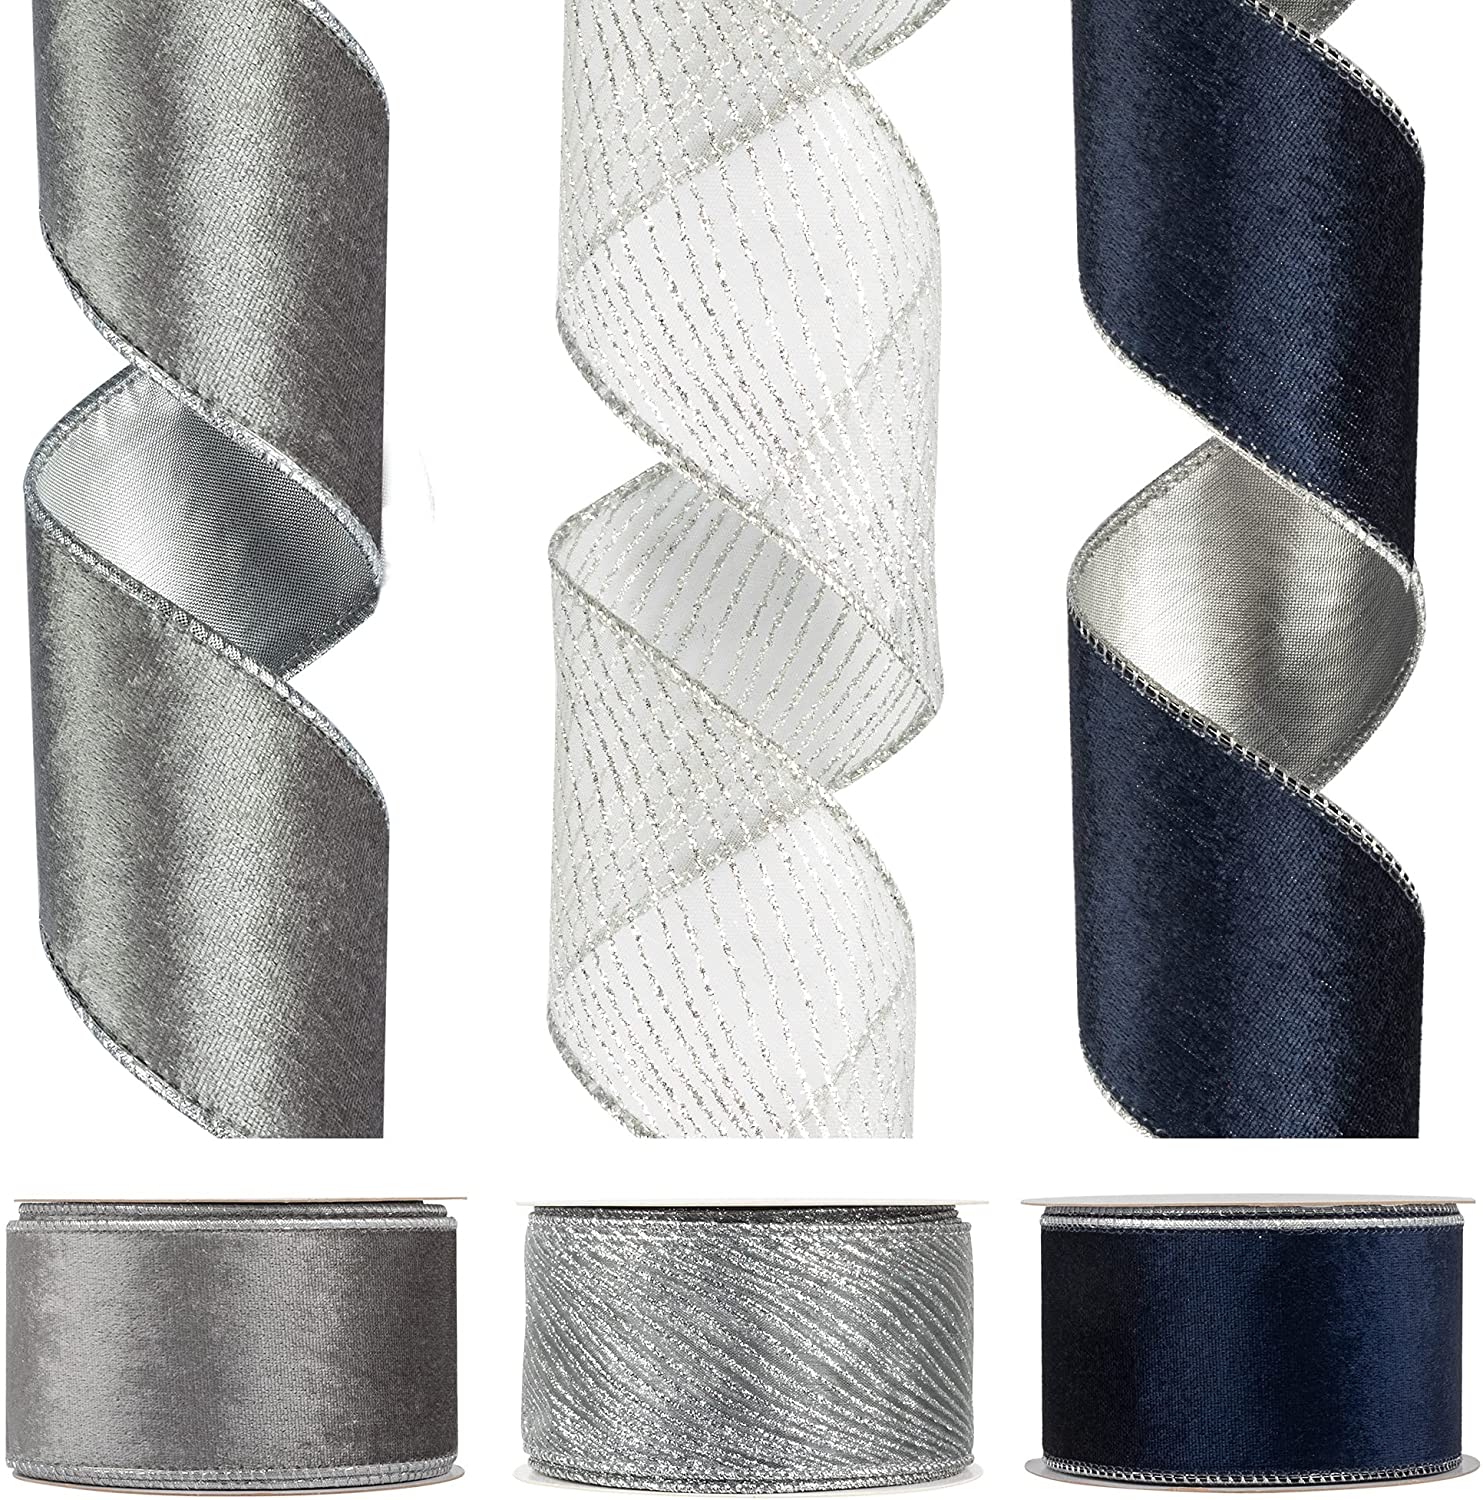
- Wired Ribbon works best and is easy to manage. It allows you to stretch and move it in many different ways.
- Ribbon width options – 2.5 is ideal, but you can play around with the sizes. I would recommend staying between the size 1.5 -4 inches wide.
- Several ribbons with different fabrics and colors ( popular styles include burlap ribbon, velvet ribbon, buffalo plaid, and wired mesh ribbon)
- Optional: glue gun and wire for making bows.
- Scissors
The Easiest way to Vertical Ribbon to a Christmas Tree
1. Christmas Tree Ribbon Twist


This method gives a high design look with minimal work. To make this bow, you will need a few ( 12-16 inches) pieces of ribbon and a few (12 inches) pieces of wire ribbon. For long curls, use longer pieces.
- Wrap the ribbon around your hand and then hold it tight, start twisting it (use two colors to make it stand out).
- Your ribbon should look like a circle once you remove it from your hand
- Then slightly pull the ribbon the two ends apart to give that spiraled curl look
- Take the top of the ribbon and tuck in one part of the tree. Then fold the other end in another part of the tree.
- Repeat with another ribbon. Wrap it into a circle using your hand and pull it apart to form a curl.
- Then place it in random areas covering the top and bottom of the tree.
Note: You can layer two ribbons in the curl using different textures and colors for a cool effect.

Q: Does this work on a fake and real tree? You can do it on both trees. You can bend the branches to secure the ribbon with an artificial tree like I have. With a real tree, you will need to ensure the ribbon is tuck far enough that it doesn’t come undone.
2. Cascade WaterFall Ribbon Tree

I tried it, and I liked this look a lot, but the ribbon should be more vibrant, like a red ribbon. Otherwise, it doesn’t give that pop, so the tree looks basic. I used gray because it was beautiful in the store but didn’t stand out on the tree.
It is the quickest way to decorate with a ribbon since your not cutting the ribbon and using multiple small pieces.

For this look, you will need a long piece of wired ribbon, and it should be at least 6 feet long. So you will need more than one roll of ribbon.
- Start by adding ribbon to the top of the tree ( keep the ribbon on the roll)
- Tuck the piece of ribbon at the top of the tree
- Create a bubble, then tuck it into the tree
- Keep going down the tree, creating a hump, then tuck, hump, then tuck
- Then start from the top flow steps 1-4 and make as many rows as you like( at least 2)
Q: For the waterfall look, would you do it before decorating the tree or after? do the waterfall ribbon before putting any other decorations on the tree
3. Garland Ribbon Tree

I love the look of making a garland tree out of the ribbon. It is another really simple way to add some extra decoration to your tree.
You are going to wrap the ribbon around the tree like a garland.
- Simply cut the ribbon in pieces ( different widths of ribbon and in various lengths to give more texture.)
- Tuck one piece at the top of the tree and then on a slant and tuck it in at the opposite side.
- take the next piece and tuck it close to the other part to give an illusion that its one long piece of ribbon
- Do the same thing with the other pieces of ribbon, staggering them as you go up and down the tree.
Tip: For a traditional appearance, place all ribbons pieces in the same direction or various directions for a textured look.
How to Put Ribbon Garland on a Christmas Tree
I love the burlap used to create a cohesive look and style.
She used one long piece instead of cut the ribbon in to short separate sections.
Get the full tutorial from Hunker.com

Decorate Your Xmas Tree using Bows

4. Ribbon Bow
Another way is to make bows out of the ribbon. This is a really popular way to decorate a tree, and it’s really easy to do. You can make bows in any size or shape that you want, and you can use as many or as few bows as you like.
To make the bow
- cut your ribbon in 1 – 2 feet pieces ( depending on how large you like your bows).
- Take the ribbon and create bunny ears, then hot glue back together, use a wire or just tuck the back of the ribbon into the tree.
- create many bows to fill in gaps on the tree.
Attach each bow to your tree with a little bit of wire, tucking it behind branches, or add a little hot glue to keep it in place.
You may use it as a filler to decorate once you’ve finished the tree. It’s so easy to apply to fill in the gaps, so I used a variety of colors of ribbons to add texture.
Tip: You can also make a really big bow and attach it to the back of your tree, so you can walk around and see it from both sides. Or use the big bow for a tree topper.
5. Faux Christmas Bow

Take small pieces of ribbon and group them to create an oversized bow look.
For this look, you will need
- Start by cutting your ribbon roll into smaller strips of 10-15 strands or 15-20 for a larger bow.
- Take a piece of your ribbon and lightly fold it in half
- Bring the ends together, so the other side creates a loop
- Take the back with the ends of the loop and tuck it into the tree
- Take another ribbon and place it near the first ribbon
- Repeat grouping about 4-5 loops together to create a bow
Q: Where should I start with the bow? Start at the top of the tree and create faux bow clusters going down the tree. Do what you think looks best on your tree.
6. Big Ribbon Bow as Tree Topper

We moved and lost the star! I was looking for creative ways to decorate the top of the tree, and ribbon by far has been the best suggestion.
So I found a great way to make a bow for a Christmas tree topper!
For this, you will need three spools of wire ribbon in different colors.


- Stack all three ribbons flat on top of each other.
- Now fold the ribbon over after 14 inches
- Repeat folding over on itself for 7-9 times
- Cut the rest off after folding it over
- In the center of the ribbon, snip the edge of the middle on each side (optional)
- Then use something to keep the middle together ( rubber band, zip tie, wire, glue gun, or use a small leftover piece of ribbon)
- Then separate the loops, some toward the front and others towards the bottom.
- Finally, add the tail to the bow attached with wire, glue, etc.
- Trim the ends of the ribbon, so they are even.
- 8. Put a dab of hot glue on the wire hanger and attach your bow. Let it cool and dry before hanging it on your tree.
- Repeat these steps to make as many bows as you like!
Final Thoughts for Transforming Your X-mas Tree with Ribbon

There are many, many ways to decorate your tree with ribbons. You can mix and match any of these ideas or come up with your own ideas. The ribbon is a versatile material that can be used in many different ways. We hope you enjoyed our blog post on making Christmas a ribbon Christmas tree.
What did you think about these ideas? Which do you prefer, a single color scheme or multiple colors? Which of the five ways did you like best?
Happy Decorating!

How to Transform Your Christma Tree with Ribbon ( 6 easy looks)
My top 6 favorite ways to transform your tree using ribbon. These are all easy and inexpensive ideas that will make your home look festive in no time! Get crafting today!
This would be a perfect way to get the kids involved, too - they'll love it! If there's one thing I know about kids, it is that they're always up for something new. And this year, we have some really great things planned. Don't worry, I won't spoil them just yet 😉
Materials
- A tree ( I have an artificial Christmas tree, but either is fine)
- Wired Ribbon works best and is easy to manage. It allows you to stretch and move it in many different ways.
- Ribbon width options - 2.5 is ideal, but you can play around with the sizes. I would recommend staying between the size 1.5 -4 inches wide.
- Several ribbons with different fabrics and colors ( popular styles include burlap ribbon, velvet ribbon, buffalo plaid, and wired mesh ribbon)
- Optional: glue gun and wire for making bows.
- Scissors
Instructions
- Wrap the ribbon around your hand and then hold it tight, start twisting it (use two colors to make it stand out).
- Your ribbon should look like a circle once you remove it from your hand
- Then slightly pull the ribbon the two ends apart to give that spiraled curl look
- Take the top of the ribbon and tuck in one part of the tree. Then fold the other end in another part of the tree.
- Repeat with another ribbon. Wrap it into a circle using your hand and pull it apart to form a curl.
- Then place it in random areas covering the top and bottom of the tree.
Vertical Ribbon on Tree
- Start by adding ribbon to the top of the tree ( keep the ribbon on the roll)
- Tuck the piece of ribbon at the top of the tree
- Create a bubble, then tuck it into the tree
- Keep going down the tree, creating a hump, then tuck, hump, then tuck
- Then start from the top flow steps 1-4 and make as many rows as you like( at least 2)
Garland Ribbon on Tree
- Simply cut the ribbon in pieces ( different widths of ribbon and in various lengths to give more texture.)
- Tuck one piece at the top of the tree and then on a slant and tuck it in at the opposite side.
- take the next piece and tuck it close to the other part to give an illusion that its one long piece of ribbon
- Do the same thing with the other pieces of ribbon, staggering them as you go up and down the tree.
Ribbon Tuck Bow
- cut your ribbon in 1 – 2 feet pieces ( depending on how large you like your bows).
- Take the ribbon and create bunny ears, then hot glue back together, use a wire or just tuck the back of the ribbon into the tree.
- create many bows to fill in gaps on the tree.
Giant Ribbon Tree Topper
- Stack all three ribbons flat on top of each other.
- Now fold the ribbon over after 14 inches
- Repeat folding over on itself for 7-9 times
- Cut the rest off after folding it over
- In the center of the ribbon, snip the edge of the middle on each side (optional)
- Then use something to keep the middle together ( rubber band, zip tie, wire, glue gun, or use a small leftover piece of ribbon)
- Then separate the loops, some toward the front and others towards the bottom.
- Finally, add the tail to the bow attached with wire, glue, etc.
- Trim the ends of the ribbon, so they are even.
- 8. Put a dab of hot glue on the wire hanger and attach your bow. Let it cool and dry before hanging it on your tree.
- Repeat these steps to make as many bows as you like!
Faux Giant Bow Fillers
- Start by cutting your ribbon roll into smaller strips of 10-15 strands or 15-20 for a larger bow.
- Take a piece of your ribbon and lightly fold it in half
- Bring the ends together, so the other side creates a loop
- Take the back with the ends of the loop and tuck it into the tree
- Take another ribbon and place it near the first ribbon
- Repeat grouping about 4-5 loops together to create a bow
Recommended Products
As an Amazon Associate and member of other affiliate programs, I earn from qualifying purchases.