
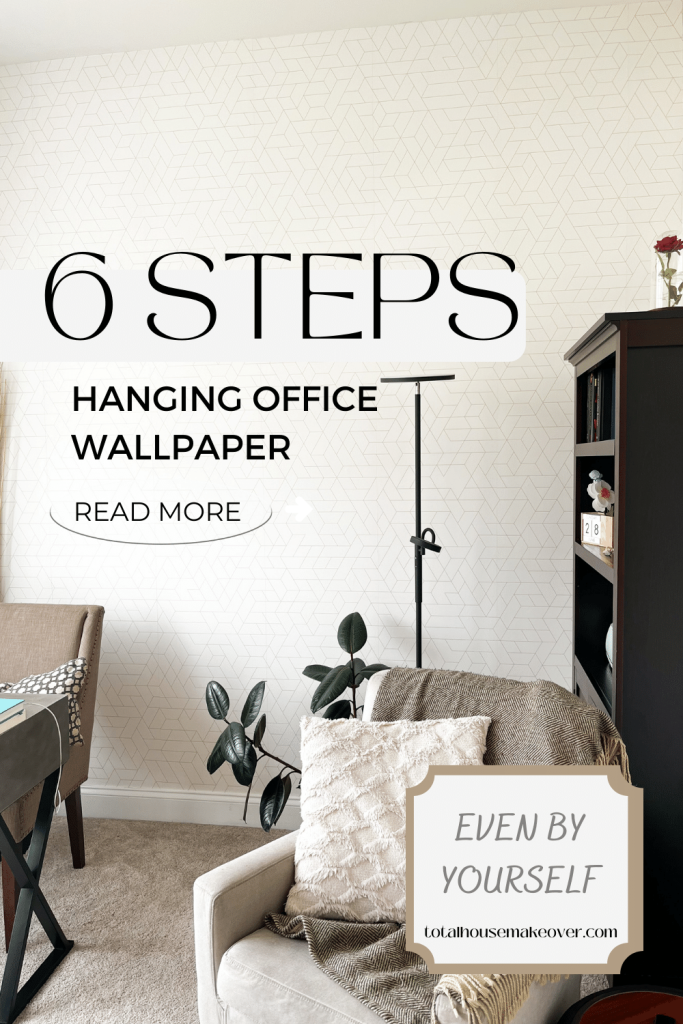
How to Hang Home Office Wallpaper accent wall – paste
So I’m at it again, this time hanging wallpaper in the home office.
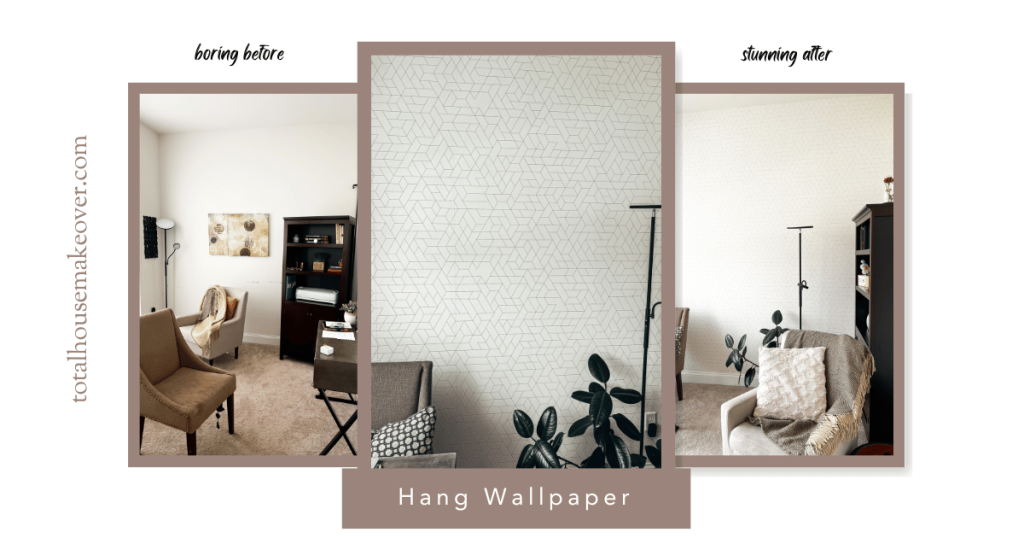
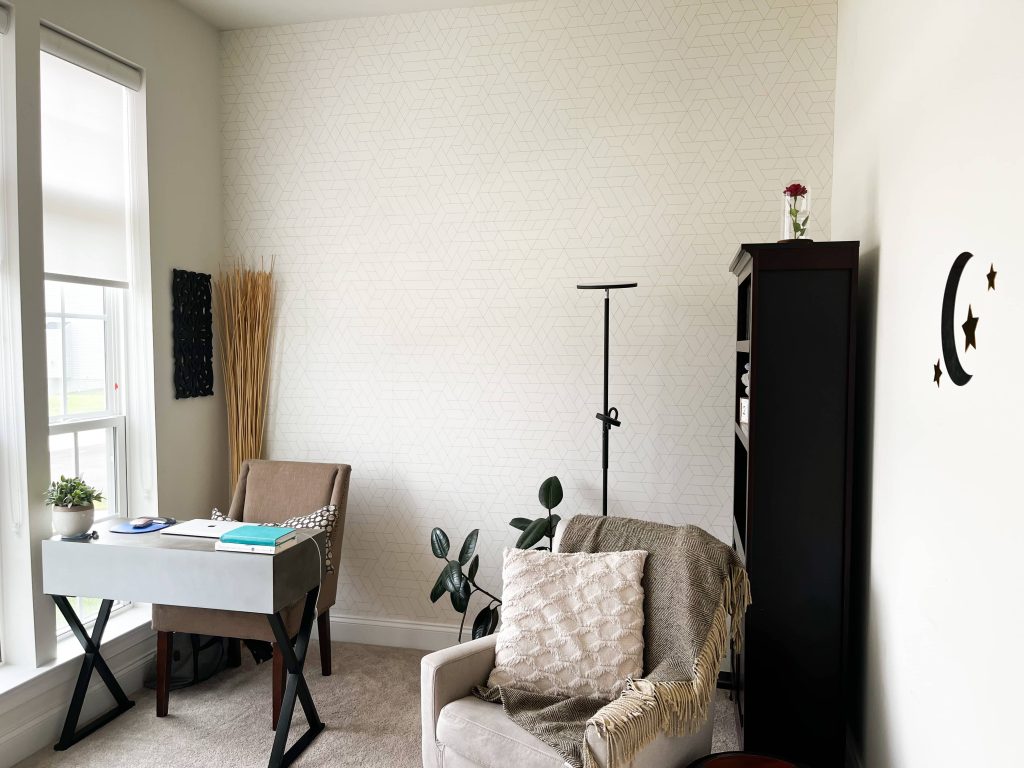
I was tired of looking at plain walls in my home office. So, I recently decided to take on the challenge of adding a feature wall in my office using wallpaper.
And the thought of hanging wallpaper by myself seemed intimidating, but it turned out to be easier than expected and resulted in something really beautiful.
I know it’s a daunting task for some, but not to worry.
I’m here to show you how easy and fun it can be to create your own feature wall with wallpaper in your home office, even if you are hanging wallpaper by yourself!
From choosing the right wallpaper to learning about proper adhesives, we’ll cover all the basics so you, too, can create a stunning backdrop step-by-step in no time.
Step 1: Choosing office wallpaper designs
First and foremost, you’ll want to choose a wallpaper that aligns with your personal style and adds character to your workspace.
Take a look at several wallpaper patterns online to choose one that meets your preferences.
Whether it’s vintage, modern, or organic wallpaper you’re looking for, choose one that aligns with your overall design theme and decorating style.
I spent the most time looking for something that has a modern feeling but also connects with the theme of a goddess in nature.
When I’m finished the entire room, you will see what I mean. It would be with plants, hunter-green curtains, a plush rug, neutral paint and accents of gold. I want it to be a vibe when connecting with clients.
I received wallpaper from Photowall, and to choose the perfect design for my room, I went through their catalog and carefully selected the one that appealed to me the most.
The first step is picking out wallpaper ideas… done!
Rather Use Stencil for a more budget-friendly transformation? Read Stencil wallpaper

As an Amazon seller, I earn a commission on your purchases at no extra cost to you. Your support is truly appreciated. Thank you! Read more in disclosure.
Preparation
Step 2: Measure Your Wall
After selecting your wallpaper, the next step is to measure your wall accurately.
Measuring your wall will help you know the exact quantity of wallpaper you’ll need to purchase. Make sure to measure both the length and width of your wall to avoid making any mistakes.
When placing your order, most are ordered in square ft but keep in mind what the company unit measurement is, such as feet, centimeters, or inches as the unit of measurement. Once you have the measurements, use them to buy the right amount of wallpaper.
A few things that helped me…
Lowes wallpaper calculator
A simple conversion chart ( if needed)
Wallpaper measurements are accurate in the required units… check!
Step 3: Wallpaper Tools You Might Need
I had added the wallpaper kit from Photowall to my cart, which made life easy, and it came with glue powder, so all I needed to do was mix it with water.
But, this is what I pretty much used that you will need…
- paste brush for applying glue
- seam roller for making the seams invisible
- craft knife and cutting guide for trimming excess wallpaper,
- bubble level
- pencil
- tape measure or ruler
- paper hanging brush for smoothing the strips
- bucket for glue ( if needed for mixing)
- sponge /cloth for excess wiping excessive glue
- wallpaper glue

Ordered wallpaper materials for office space…check!
Are you also painting? Best Home Paint Supplies to Make Your Paint Job Easier
Step-by-step office wallpaper installation
Step 4: Prepare wallpaper installation for the office
Once you have everything you need, prepare your wall.
Pretty much make sure your walls are clean and dry the wall’s surface before hanging the wallpaper. Remove any old paint or wallpaper that is coming off. If there are any cracks or dents, fill them using a filling compound and sand them down to a uniform surface.
This is because some wallpaper may not stick well to surfaces that aren’t clean.
I just used a duster to remove any webs or dust since my home is new construction.
To make things easier, I removed the cover of the electrical box to avoid the hassle of moving around the outlets.
Then the wall prep step is done…check!
Step 5: Hanging wallpaper in the office
Now that the wall is ready, it’s time to hang the wallpaper!
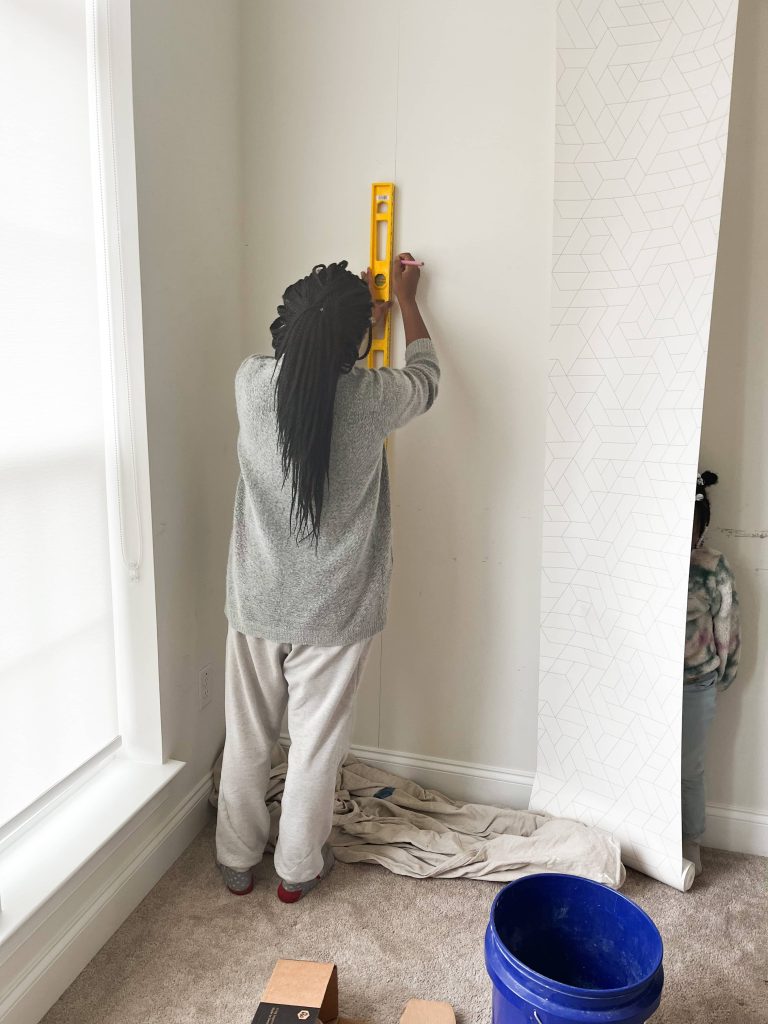
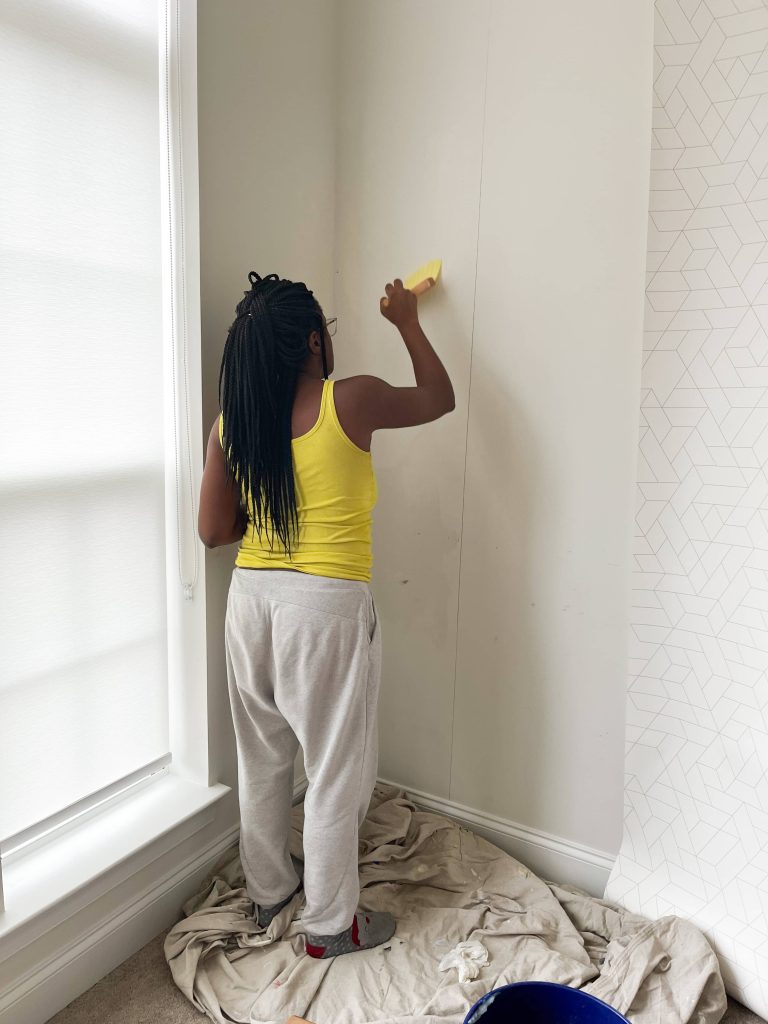
When hanging wallpaper, it’s crucial to maintain a straight position. So use a vertical line as a guide when hanging the first panel.
The marking or line should be drawn one-panel width in from the corner and marked gently with a pencil to avoid seeing the pencil marking through the wallpaper. This advice is from experience.
Next, apply the wallpaper adhesive to the wall’s surface and a little to the paper’s back using a roller. Don’t leave dry areas without paste, or it will cause bubbles in the wallpaper.
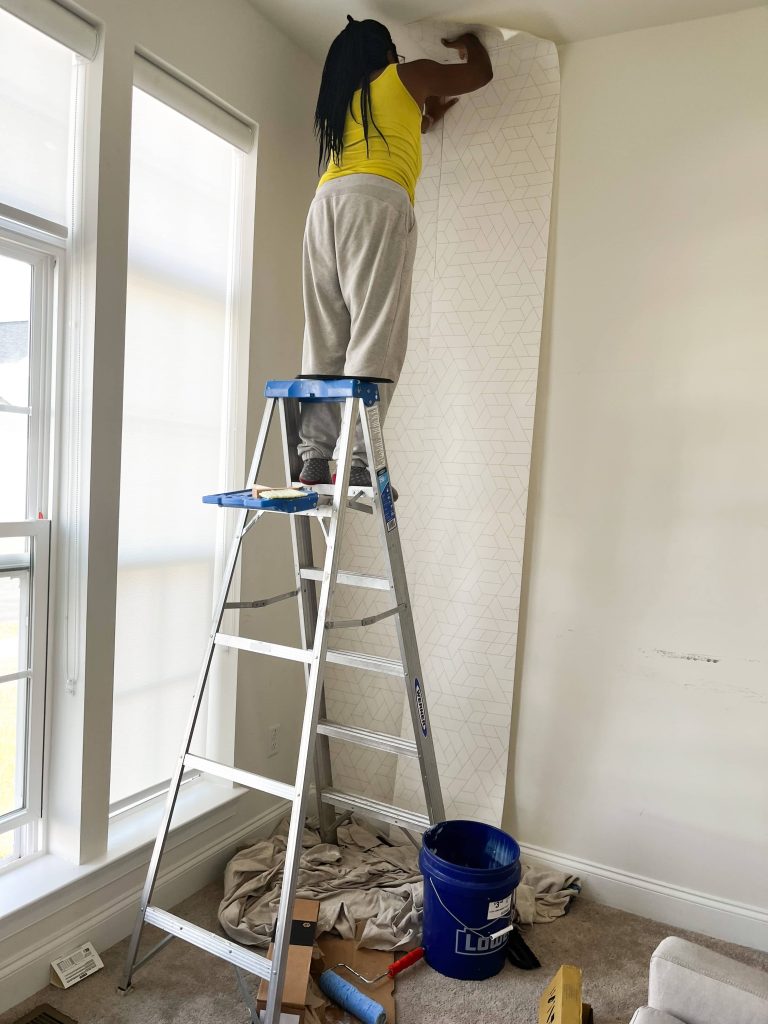
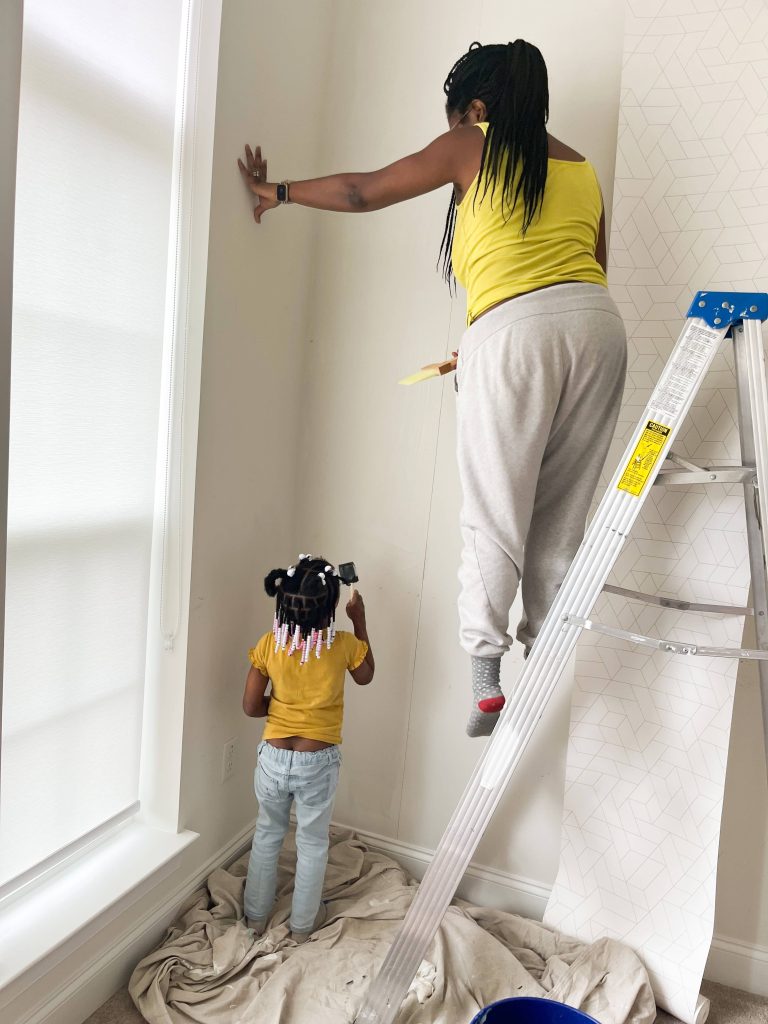
To apply the wallpaper, begin near the top if you are working alone and don’t want it to sag. Smooth it down and work your way out from the center, smoothing out any wrinkles as you go.
Now to the hardest part.. making sure the wallpaper doesn’t overlap but the design still matches up. All the glue moved out of the edge, and I used that glue to slide the next ready wallpaper panel.
*Make sure to avoid getting any paste on the front surface. If you do, quickly wipe it away using a sponge to prevent it from being visible when it dries.
To handle the corners while wallpapering, I found it helpful to bend the wallpaper and cut it into small sections after flattening it out. It was a bit challenging, but this technique made it easier.
After removing the outlet cover, I hung the entire panel and then cut a hole for the outlet before putting the cover back on—easy peasy and clean.
Office wallpaper installation completed…check!
Step 5: Finishing touches of feature office wall
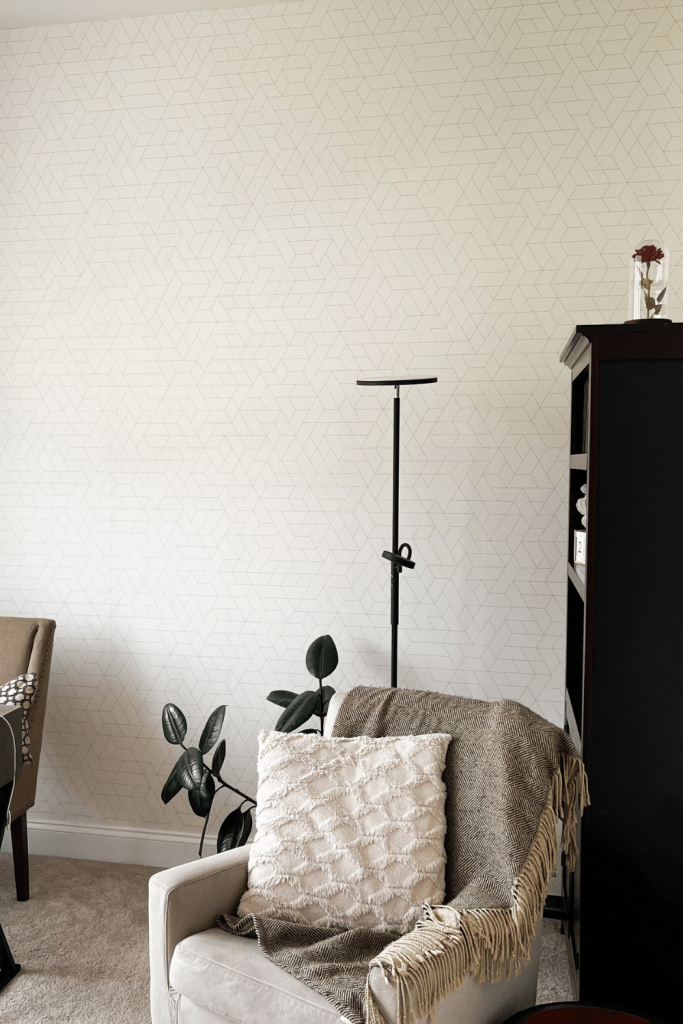
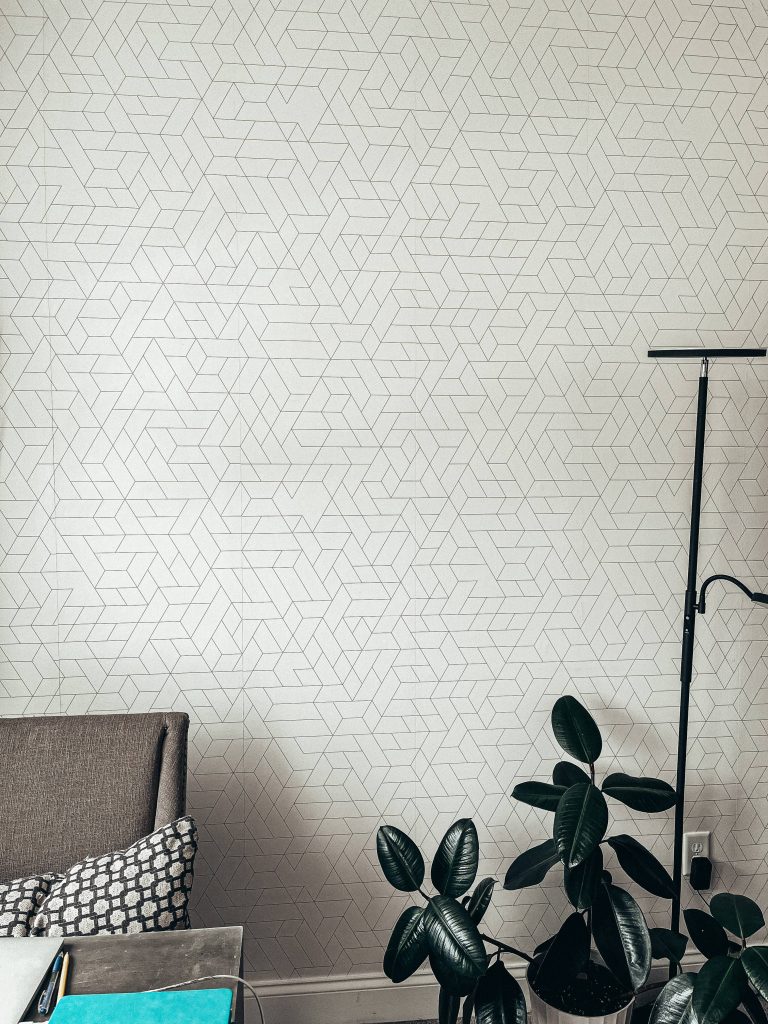
Now that the wallpaper is applied wait for it to dry. Trim away any excess wallpaper from the top or bottom using a sharp knife. Ensure that your edges meet neatly and that there is no overlap. And remove any bubbles or buckles in the panel. To finish up, clean any glue residue on the wallpaper’s surface, stand back, and admire your excellent work!
Start another project: Simple DIY home projects to do
Conclusion: Hang Home Office Wallpaper
By adding a feature wall with wallpaper, your office will look warmer and more inviting. It’s an inexpensive way of adding color and character as well as a little quirkiness to your workspace. This project is also easy to complete with the right tools and often only takes a couple of hours. So, why not experiment with wallpaper to transform your home office today?!
Other projects you will love:


